🏡 Home-Canned Chicken (Pressure Canner Recipe)
This recipe works for raw or cooked chicken, boneless or bone-in. It’s perfect for quick soups, casseroles, or sandwiches later!
🧂 Ingredients
-
Fresh chicken (boneless breast, thigh, or mixed cuts)
-
Non-iodized salt (optional, for flavor) – about ½ teaspoon per pint jar, 1 teaspoon per quart
-
Boiling water or chicken broth (optional, for raw pack)
🫙 Equipment Needed
-
Pressure canner (NOT a water bath)
-
Canning jars (pint or quart size)
-
New lids and clean rings
-
Jar lifter, canning funnel, and towel
🍗 Directions
1. Prepare the Chicken
-
Trim off excess fat and skin.
-
Cut meat into pieces about 1–2 inches.
-
You can use raw chicken (for raw pack) or pre-cooked chunks (for hot pack).
2. Choose Your Pack Method
Raw Pack (Most Common):
-
Pack raw chicken tightly into clean jars, leaving 1¼ inch headspace.
-
Add salt if desired.
-
Do not add liquid — the chicken will create its own broth while canning.
Hot Pack:
-
Pre-cook chicken pieces until lightly done.
-
Pack hot meat into jars, leaving 1¼ inch headspace.
-
Pour in boiling broth or water to cover the meat, leaving the same headspace.
-
Add salt if desired.
3. Wipe, Seal, and Load
-
Remove air bubbles with a plastic spatula or chopstick.
-
Wipe rims clean with vinegar-dampened paper towel.
-
Place lids and screw bands fingertip-tight.
-
Load jars into the pressure canner with 2–3 inches of hot water.
4. Pressure Can
-
Pints: 75 minutes
-
Quarts: 90 minutes
-
Pressure:
-
10 PSI (dial-gauge) or 11 PSI (weighted gauge) for 0–1,000 ft elevation
-
Adjust for higher elevations per your canner’s chart
-
5. Cool & Store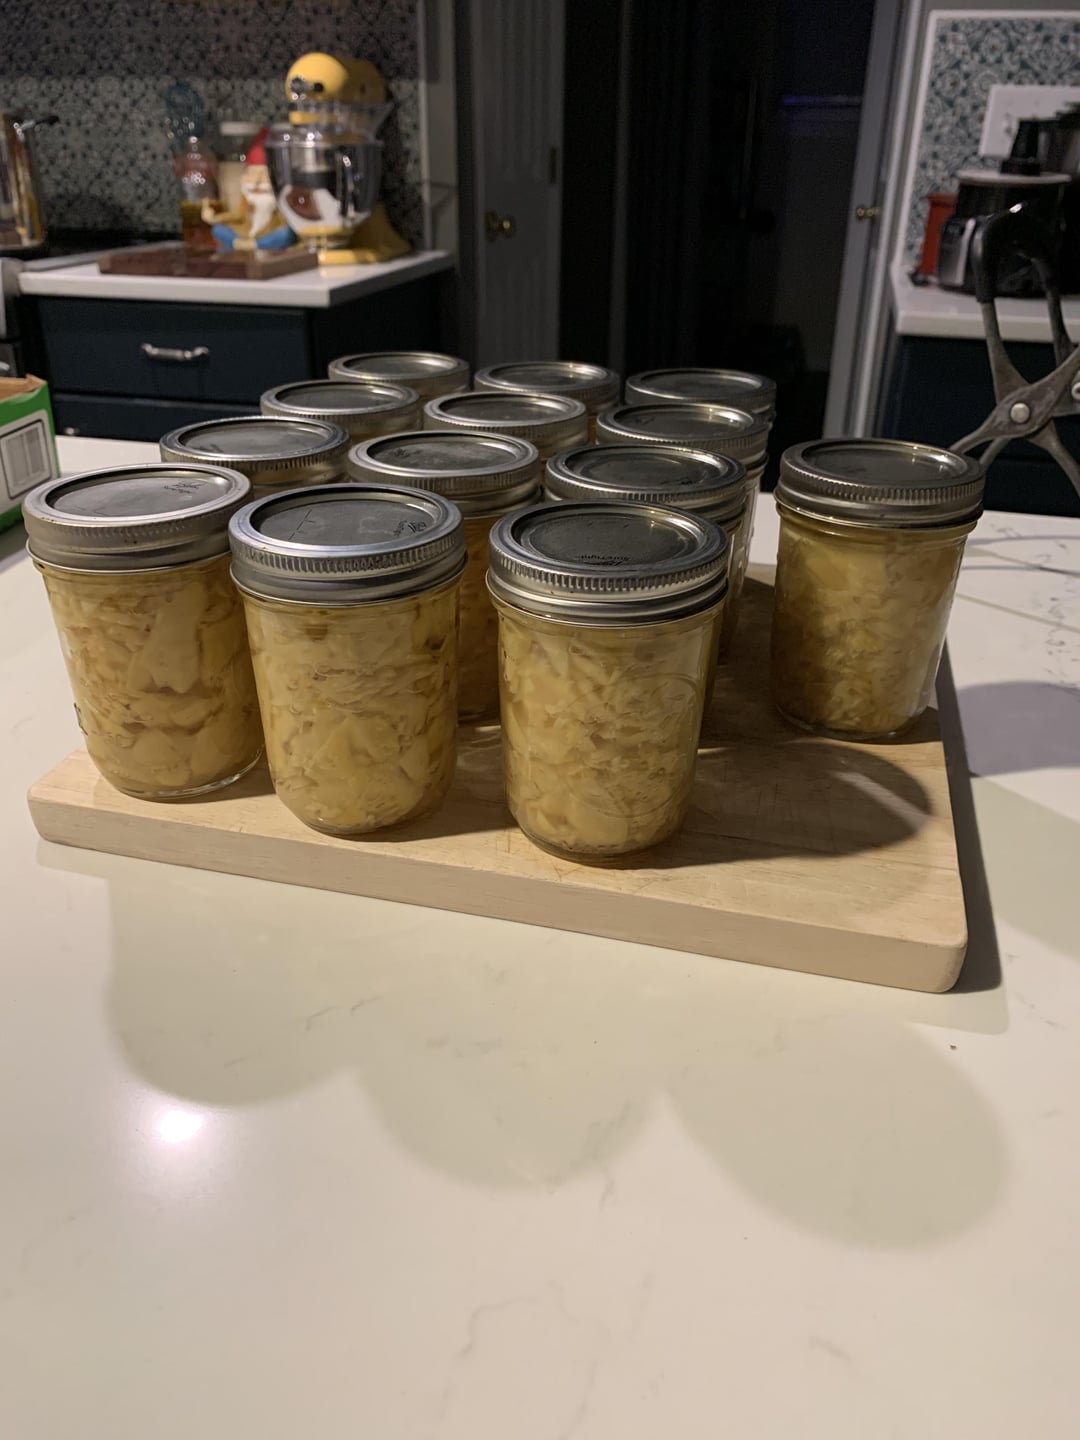
-
Let canner depressurize naturally.
-
Remove jars and let cool 12–24 hours.
-
Check for sealed lids (center should not flex).
-
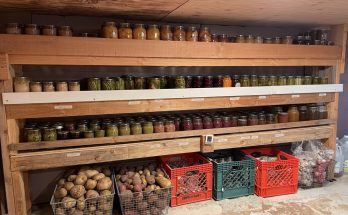
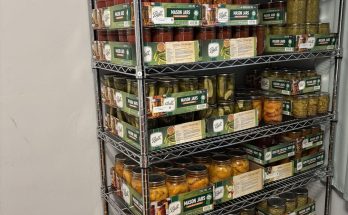
Store in a cool, dark place for up to 1 year.
🍲 Serving Ideas
-
Use in soups, stews, tacos, casseroles, or chicken salad.
-
Save the broth from the jar — it’s rich and flavorful!