Sharing is caring!
Facebook Pinterest Jump to Recipe Print Recipe
This post may contain affiliate links. As an Amazon Associate I earn from qualifying purchases at no extra cost to you. Click HERE to read my policies & disclaimers if youre interested. I will only link products I use and personally recommend. Thank you for your support, friends!
I’ll apologize in advance, as this recipe makes such a wild range amount of jars, I can’t give you an exact amount. One time I made it and got 7 quarts. The next time I got 11. Each time I weighed my peaches out before blanching and slicing and removing pits, so who even knows how many. I’m getting ready to can it again, so I’ll definitely update the recipe with how many jars I get… again. LOL
ANYWAY.
This peach pie filling recipe is so stinkin’ good guys. It makes the most delicious peach pie and most don’t even know I dumped it out of a jar unless I make it in January… because you know… it’s not peach season. Like, it’s eat with a spoon, fresh peaches, best pie ever good. The simple ingredients come together quickly, compliment the fresh peaches, and it’s just a wonderful way to preserve peaches for good eating year round. The only peach canning recipe better than this one is canned peaches in sweet tea made with English breakfast tea and turmeric ginger. OH MY LANDS it’s heavenly. I digress. You will see this recipe calls for vanilla powder, and if you don’t know what that is, check out my blog post on how I make it here. It utilizes the spent beans after making vanilla extract and adds those dark little vanilla flecks that makes this pie filling look oh so delicious in the jars. Not to mention, it gives a lovely vanilla essence that doesn’t overpower the peaches, because when I want a peach pie, I want a PEACH pie, not a vanilla peach pie.
Headspace for Pie Fillings
When canning pie filling, you need to pay attention to your headspace. I’m mostly preaching to myself here because when I go on autopilot, my brain automatically does 1-inch headspace and that ain’t enough! Fill your jars to the shoulders, where the jar starts to bend inward or to the “freezer safe” line on wide mouth pints. Leave a healthy 1-1/2″ to 1-1/4″ headspace to allow room for expansion. This recipe is thickened with clear jel, which is a grower. If you don’t leave enough room for it to expand, you run a chance of some really messy siphoning, jars that don’t seal, and even lids that blow off of jars due to pressure on the lid from the expanding jar contents. Let’s not. You don’t want to have to clean that up, I can promise you that! You can also read more on headspace here!
Thickeners for Canning
Currently, clear jel is the only “approved” thickener for canning. It’s a modified corn starch that works well with canning and stays clear, not cloudy. If you use any other type of thickener, like cornstarch or thermflo, just know you’re entering rebel canning territory, but if you’re good with it, so am I. Because more often than not that’s what I use because clear jel can be extra difficult to source and is much more expensive. Be on the look out for cook type clear jel, not instant. You need the kind that thickens when heated otherwise you’ll end up with loose peach juice after canning. A lesson I learned the hard way in paying attention to what I buy!
Let’s can some homemade peach pie filling!Equipment You Might Want:Large bowlLarge stockpotPint or quart canning jarsLids & screw bandsJar funnelJar LifterSteam cannerWater bath cannerIngredients:18 lbs of peaches2 cups lemon juice3 cups raw unrefined sugar (adjust according to your personal preference)2 cups brown sugar2 1/4 cups clear jel5 1/4 cups water2 tsp cinnamon1 tsp vanilla powderStep 1: Prep Peaches
Select ripe peaches; freestone peaches are easiest to work with. Wash peaches in cold water, rinsing well.
Bring a large pot of water to a boil.
While the water heats, fill a large bowl with ice, cold water.
Working in batches, peel peaches by making an X in the bottom and blanching in boiling water for 30 seconds to 1 minute or til skin starts curling along the cuts.
Remove peaches from the water with a slotted spoon and immediately plunge into ice cold water bath. Peels should slip right off with your fingers. Remove pits, slice peaches, and add to large bowl with 2 cups of bottled lemon juice, tossing frequently to prevent browning.
Set peaches and lemon juice aside to make the filling.
Step 2: Make the Filling
In a large stockpot, add sugar (adjust sugar amount to your taste, I would reduce the raw sugar not the brown sugar), clear jel, water, cinnamon, and vanilla powder. I let the blanching water from the previous step cool a bit and use that for the water in this recipe since it has a lovely color and some flavor from the peaches blanching, but you can use fresh water if that suits ya better.
Whisk ingredients together and place over medium heat. Heat the mixture while whisking almost constantly until it has thickened and is bubbly.
Remove thickened mixture from the heat and pour in the peach slices and lemon juice mixture. Fold in gently with a spatula.
Step 3: Fill Jars
To prepared pint or quart canning jars, ladle the hot pie filling into jars leaving a generous 1 1/4 inch headspace. Remove air bubbles and add more filling if needed to maintain headspace.
Wipe rims of the jars and add lids and secure with screw bands.
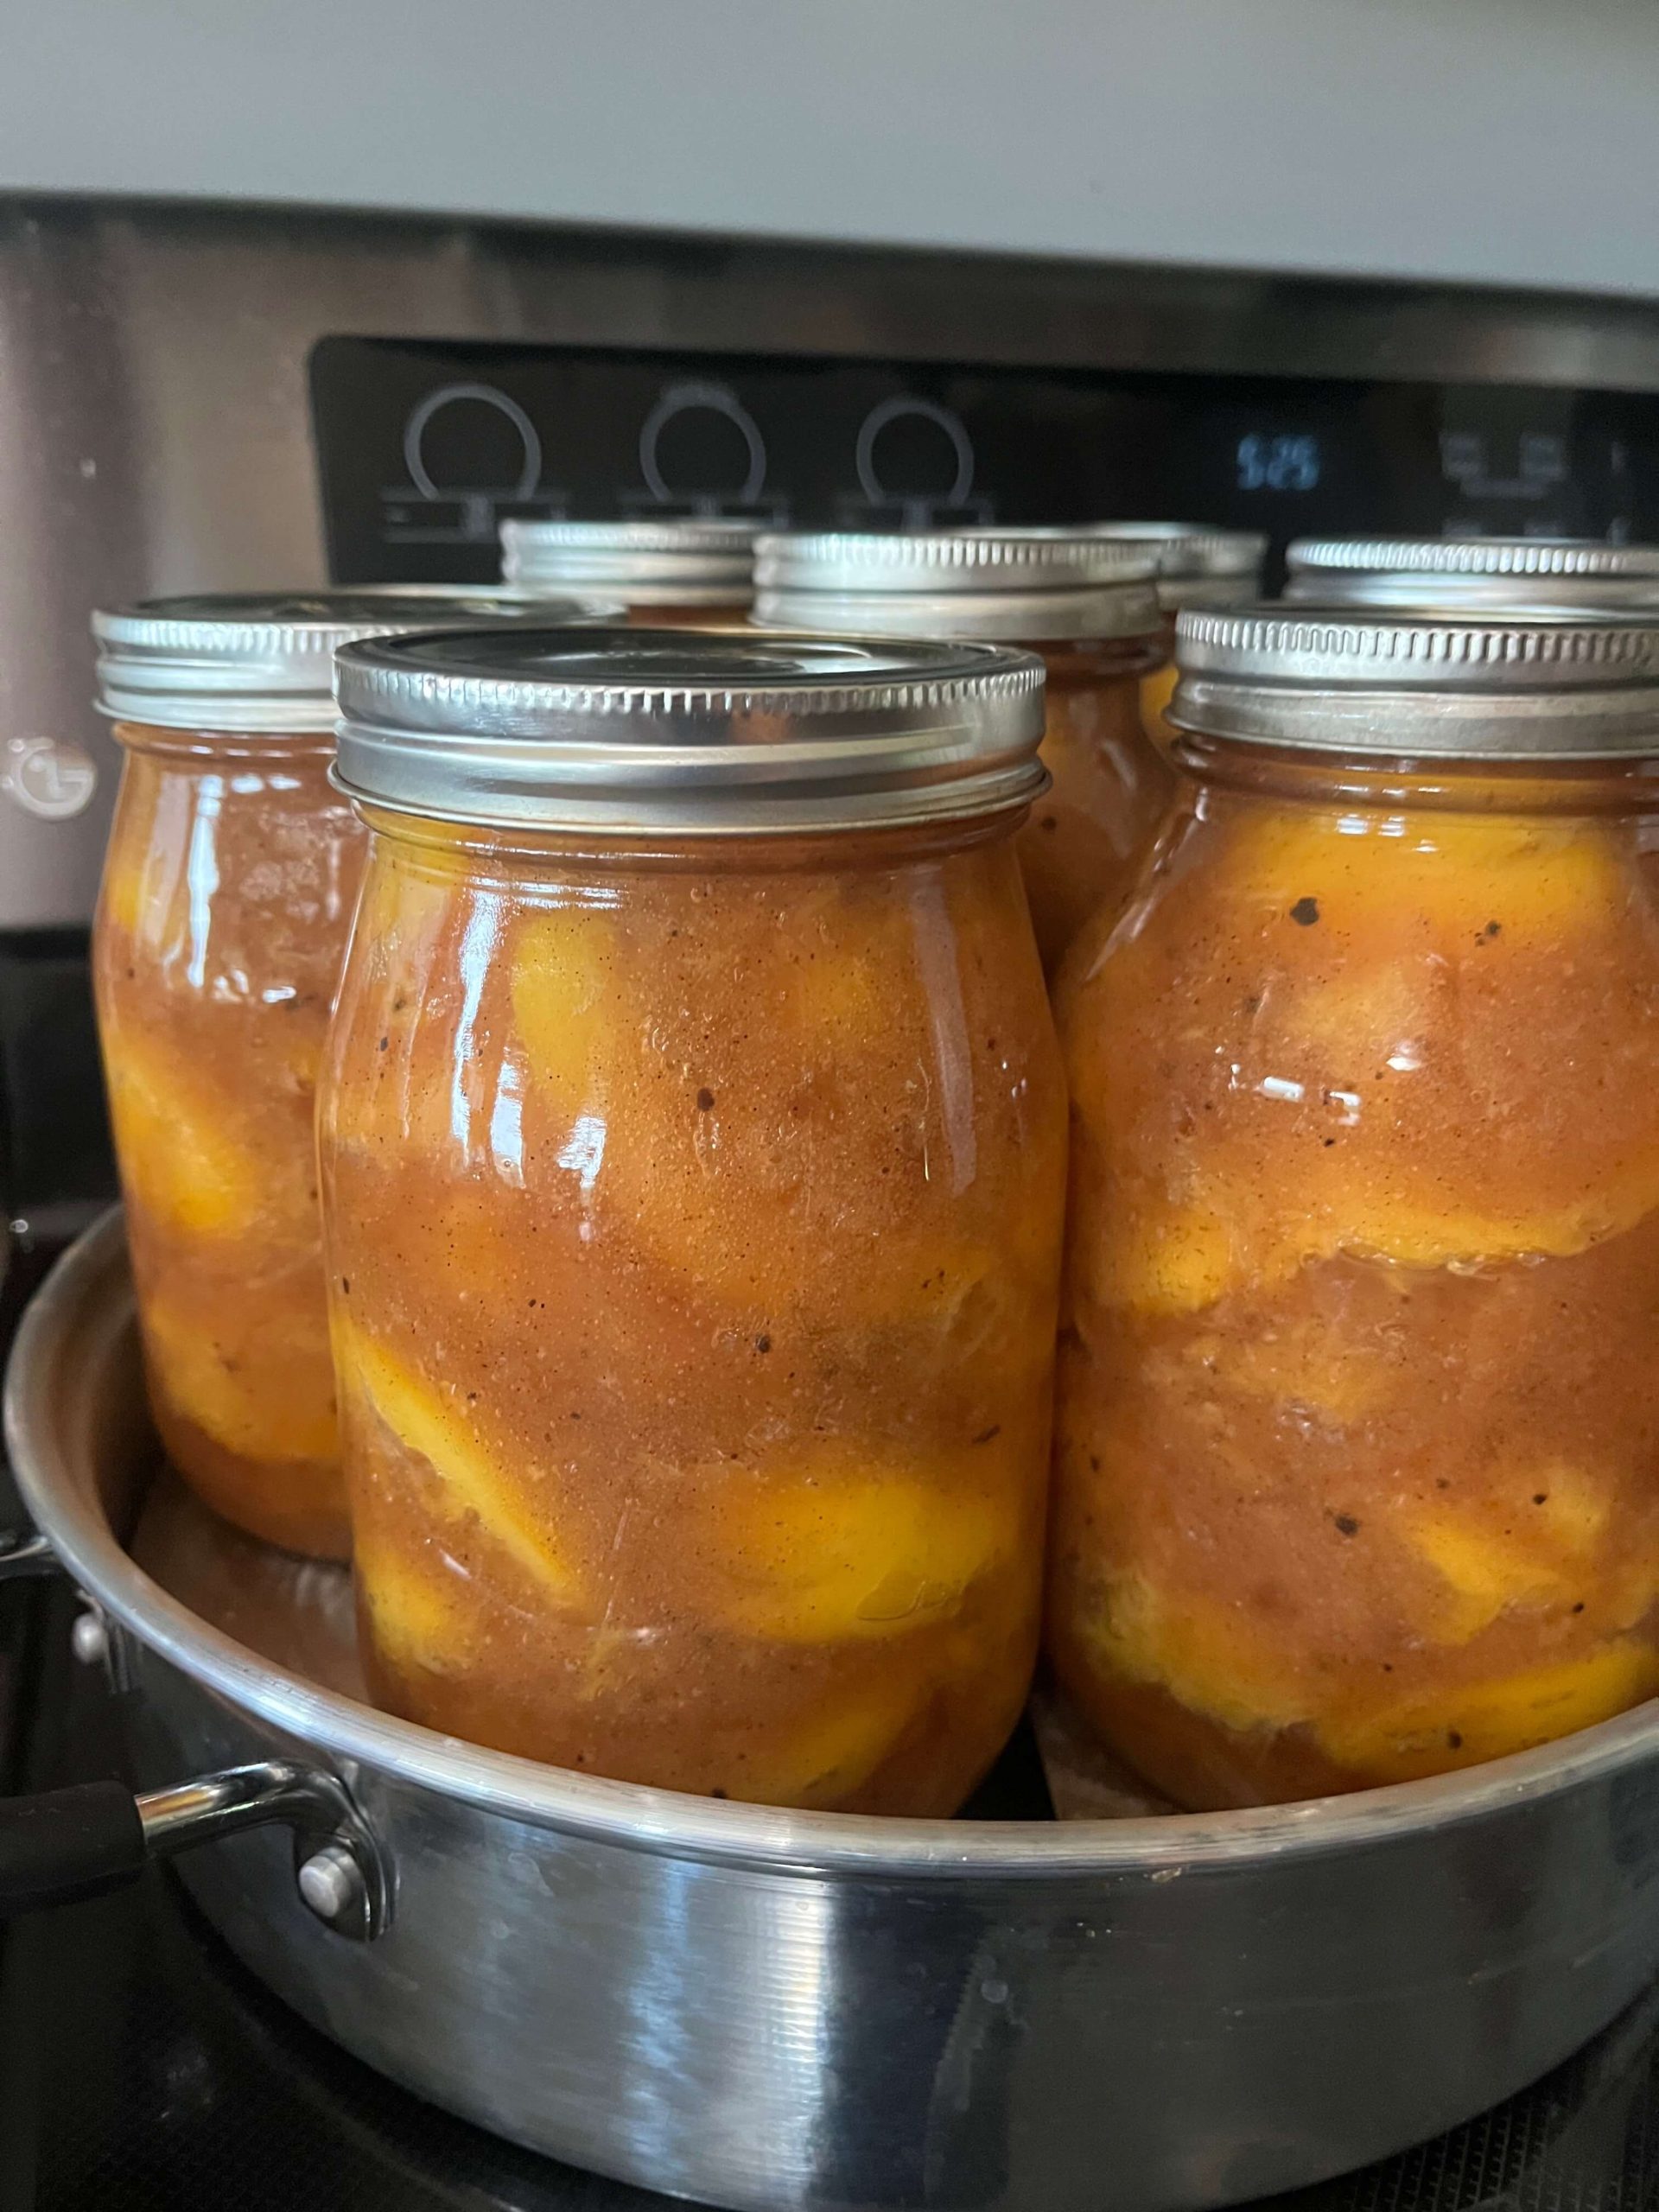
Step 4: Canning
Place jars in the bottom of your water bath canning pot or steam canner and process pint and quart jars for 30 minutes, adjusting time for elevation if needed. More on that here.
Once processing time is complete, shut off heat and allow jars to sit in the canner for 10 minutes to cool slightly before removing the lid (or cocking the lid of the steam canner) to cool another 10 minutes before completely removing jars to a heat proof surface lined with a clean towel to cool undisturbed for 18-24 hours. Cooling this way prevents siphoning.
Step 5: Storage
Once cooled, remove rings, test seals, wash jars, label, and store in a cool dark place away from direct sunlight. Room temperature is fine, just keep jars away from extreme temperatures.
Any jars that didn’t seal should be refrigerated and used soon.
Shelf life is ’til you eat it. Aim to use canned goods within 2 years for best nutritional value and flavor, but they’ll last much longer than that if needed.
To use:
Make homemade pie crust and line pie pan with 1 crust. A regular pie pan uses 1-2 quarts of filling, depending on how full you like your pie. If I make a lattice crust, I use 1 quart. If I make a solid crust, I’ll use 2 so it looks full and mounded. Spread the filling evenly over the bottom crust and add the top pie crust. Cut a few slits into the top and then add an egg wash or milk. Dust with granulated sugar and bake at 375F for about 45 minutes, or til crust is browned and appears done.
Pie filling can also be used for peach cobbler, clafoutis, and peach crisp. It’s also delicious over a scoop of vanilla ice cream, especially if it’s homemade with fresh goat milk.
 The Perfect Homemade Peach Pie Filling Canning Recipe Print RatePrep Time 1 hour hourCook Time 15 minutes minutesCanning Time 30 minutes minutesTotal Time 1 hour hour 45 minutes minutesServing Size 10 quartsEquipmentLarge bowlLarge stockpotPint or Quart Canning JarsLids & Screw Bandsjar funneljar liftersteam cannerWater bath cannerIngredients18 lbs of peaches2 cups lemon juice3 cups raw unrefined sugar (adjust according to your personal preference)2 cups brown sugar2 1/4 cups clear jel5 1/4 cups water2 tsp cinnamon1 tsp vanilla powderCook ModePrevent your screen from going darkInstructionsWash peaches in cold water, rinsing well.Bring a large pot of water to a boil.While the water heats, fill a large bowl with ice, cold water.Working in batches, peel peaches by making an X in the bottom and blanching in boiling water for 30 seconds to 1 minute or til skin starts curling along the cuts.Remove peaches from the water with a slotted spoon and immediately plunge into ice cold water bath. Peels should slip right off with your fingers. Remove pits, slice peaches, and add to large bowl with 2 cups of bottled lemon juice, tossing frequently to prevent browning.Set peaches and lemon juice aside to make the filling.In a large stockpot, add sugar (adjust sugar amount to your taste, I would reduce the raw sugar not the brown sugar), clear jel, water, cinnamon, and vanilla powder.Whisk ingredients together and place over medium heat. Heat the mixture while whisking almost constantly until it has thickened and is bubbly.Remove thickened mixture from the heat and pour in the peach slices and lemon juice mixture. Fold in gently with a spatula.To prepared pint or quart canning jars, ladle the hot pie filling into jars leaving a generous 1 1/4 inch headspace. Remove air bubbles and add more filling if needed to maintain headspace.Wipe rims of the jars and add lids and secure with screw bands.Place jars in the bottom of your water bath canning pot or steam canner and process pint and quart jars for 30 minutes, adjusting time for elevation if needed.Once processing time is complete, shut off heat and allow jars to sit in the canner for 10 minutes to cool slightly before removing the lid (or cocking the lid of the steam canner) to cool another 10 minutes before completely removing jars to a heat proof surface lined with a clean towel to cool undisturbed for 18-24 hours. Cooling this way prevents siphoning.Once cooled, remove rings, test seals, wash jars, label, and store in a cool dark place away from direct sunlight. Room temperature is fine, just keep jars away from extreme temperatures. Any jars that didn’t seal should be refrigerated and used soon. Shelf life is ’til you eat it. Aim to use canned goods within 2 years for best nutritional value and flavor, but they’ll last much longer than that if needed. NotesMake homemade pie crust and line pie pan with 1 crust. A regular pie pan uses 1-2 quarts of filling, depending on how full you like your pie. If I make a lattice crust, I use 1 quart. If I make a solid crust, I’ll use 2 so it looks full and mounded. Spread the filling evenly over the bottom crust and add the top pie crust. Cut a few slits into the top and then add an egg wash or milk. Dust with granulated sugar and bake at 375F for about 45 minutes, or til crust is browned and appears done.Did you make this recipe?
Be sure to share with me on Instagram, Pinterest, or Youtube!
Rate this Recipe Pin Recipe Share RecipePin this recipe for peach season!